


Fire dances on paper with a life of its own, a radiant symphony of light and shadow that beckons artists to capture its ethereal beauty.
It’s a mesmerizing challenge—depicting the flicker and sway, the vibrant hues clashing against the cool darkness.
But how do you draw fire, a force so alive and constantly in motion? That’s exactly the journey we’re embarking on together.
Artistic techniques, especially in rendering dynamic lighting, will be our compass as we navigate the creation of fire in art.
This isn’t your run-of-the-mill tutorial; it’s a step-by-step drawing guide fused with warmth and wisdom, a pathway lit by the embers of learning.
By the close, you’ll have grasped not just the sketching sparks and embers, but the flame sketching techniques needed to forge your own fiery textures.
Brace yourself for a tutorial ablaze with insights—from color theory to visual effects in illustrations—each brushstroke bringing us closer to understanding fire’s true essence on the canvas of our imagination.
Ready to ignite your skills and set your artwork aflame? Let’s delve into the dance of fire drawing, together.
How to draw fire and smoke: Quick workflow
Here are some tips for drawing realistic fire and smoke:
Fire
- Start with a bright yellow or orange core, then add orange and red flames fanning out from the center.
- Make the flames jagged and uneven, with some areas brighter than others to create depth and movement.
- Add a few white-hot spots at the very tips of the flames for extra intensity.
- Vary the thickness of the flames – some should be thin and wispy, while others are thick and bold.
- Curve the flames in different directions to show the fire is reacting to air currents.
Smoke
- Begin with a dark gray or black base color for the smoke.
- Add curling, wispy tendrils of lighter gray smoke coming off the fire.
- Make the smoke thicker and darker near the fire, fading to lighter grays as it dissipates.
- Curve and twist the smoke in different directions to show it being carried by the wind.
- Add a few white highlights to the edges of the smoke to make it look more translucent and airy.
- Vary the density of the smoke – some areas should be thick and billowing, while others are thin and transparent.
Techniques
- Use a combination of painting and drawing to create the fire and smoke.
- Start with a loose sketch to plan the composition and placement of the elements.
- Layer colors and textures to add depth and realism.
- Use a stiff brush to create the jagged, uneven edges of the flames.
- Blend colors together with a softer brush to smooth out transitions.
- Add details like sparks and embers flying off the fire for extra drama.
With practice and attention to detail, you can create highly realistic and dynamic fire and smoke in your drawings and paintings.
How to draw fire: A collection of tutorials
How to Draw Flames and Smoke – Really Easy Drawing Tutorial – A simple idea

We begin the guide by presenting you an easy-to-draw alternative that won’t take you long. Perfect for your most cartoony needs, the next page gives you some tips to get a flat but dynamic style.
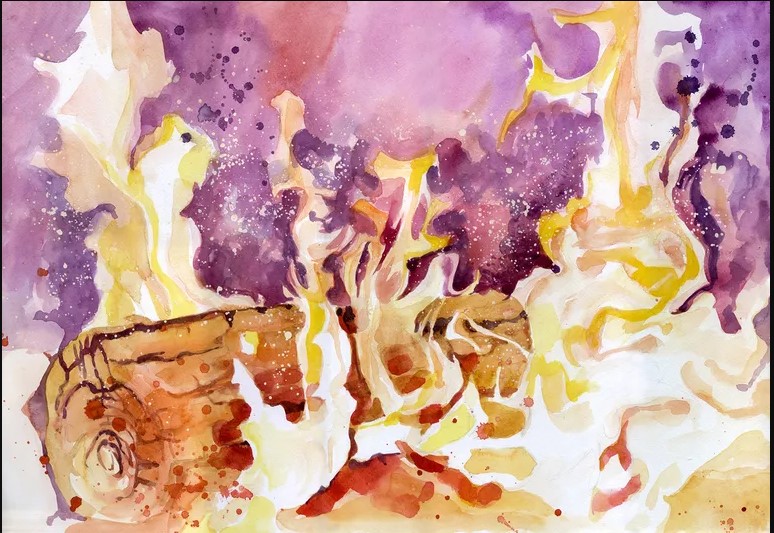
How to draw fire with colored pencils – Vibrant colors
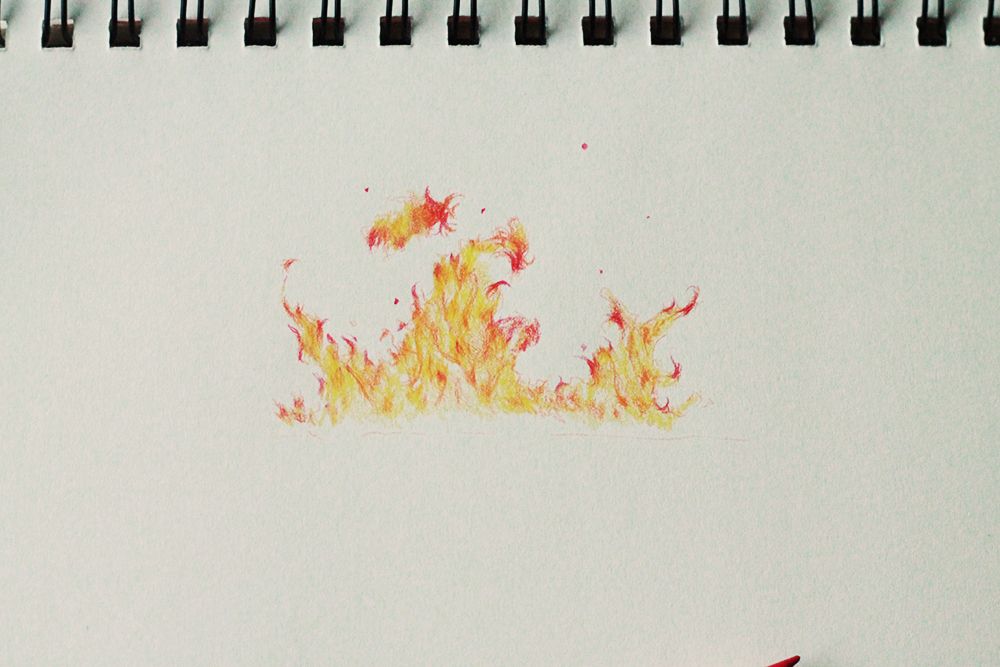

Colors are essential to show the intensity of the flame. We can analyze some drawings of fire as we see in this link to get the silhouette and then finish the design with warm colors.
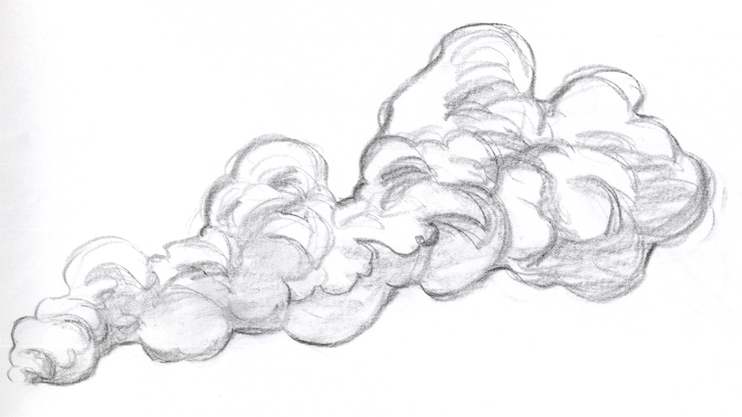
How to Draw Smoke with a Pencil – What the fire consumed
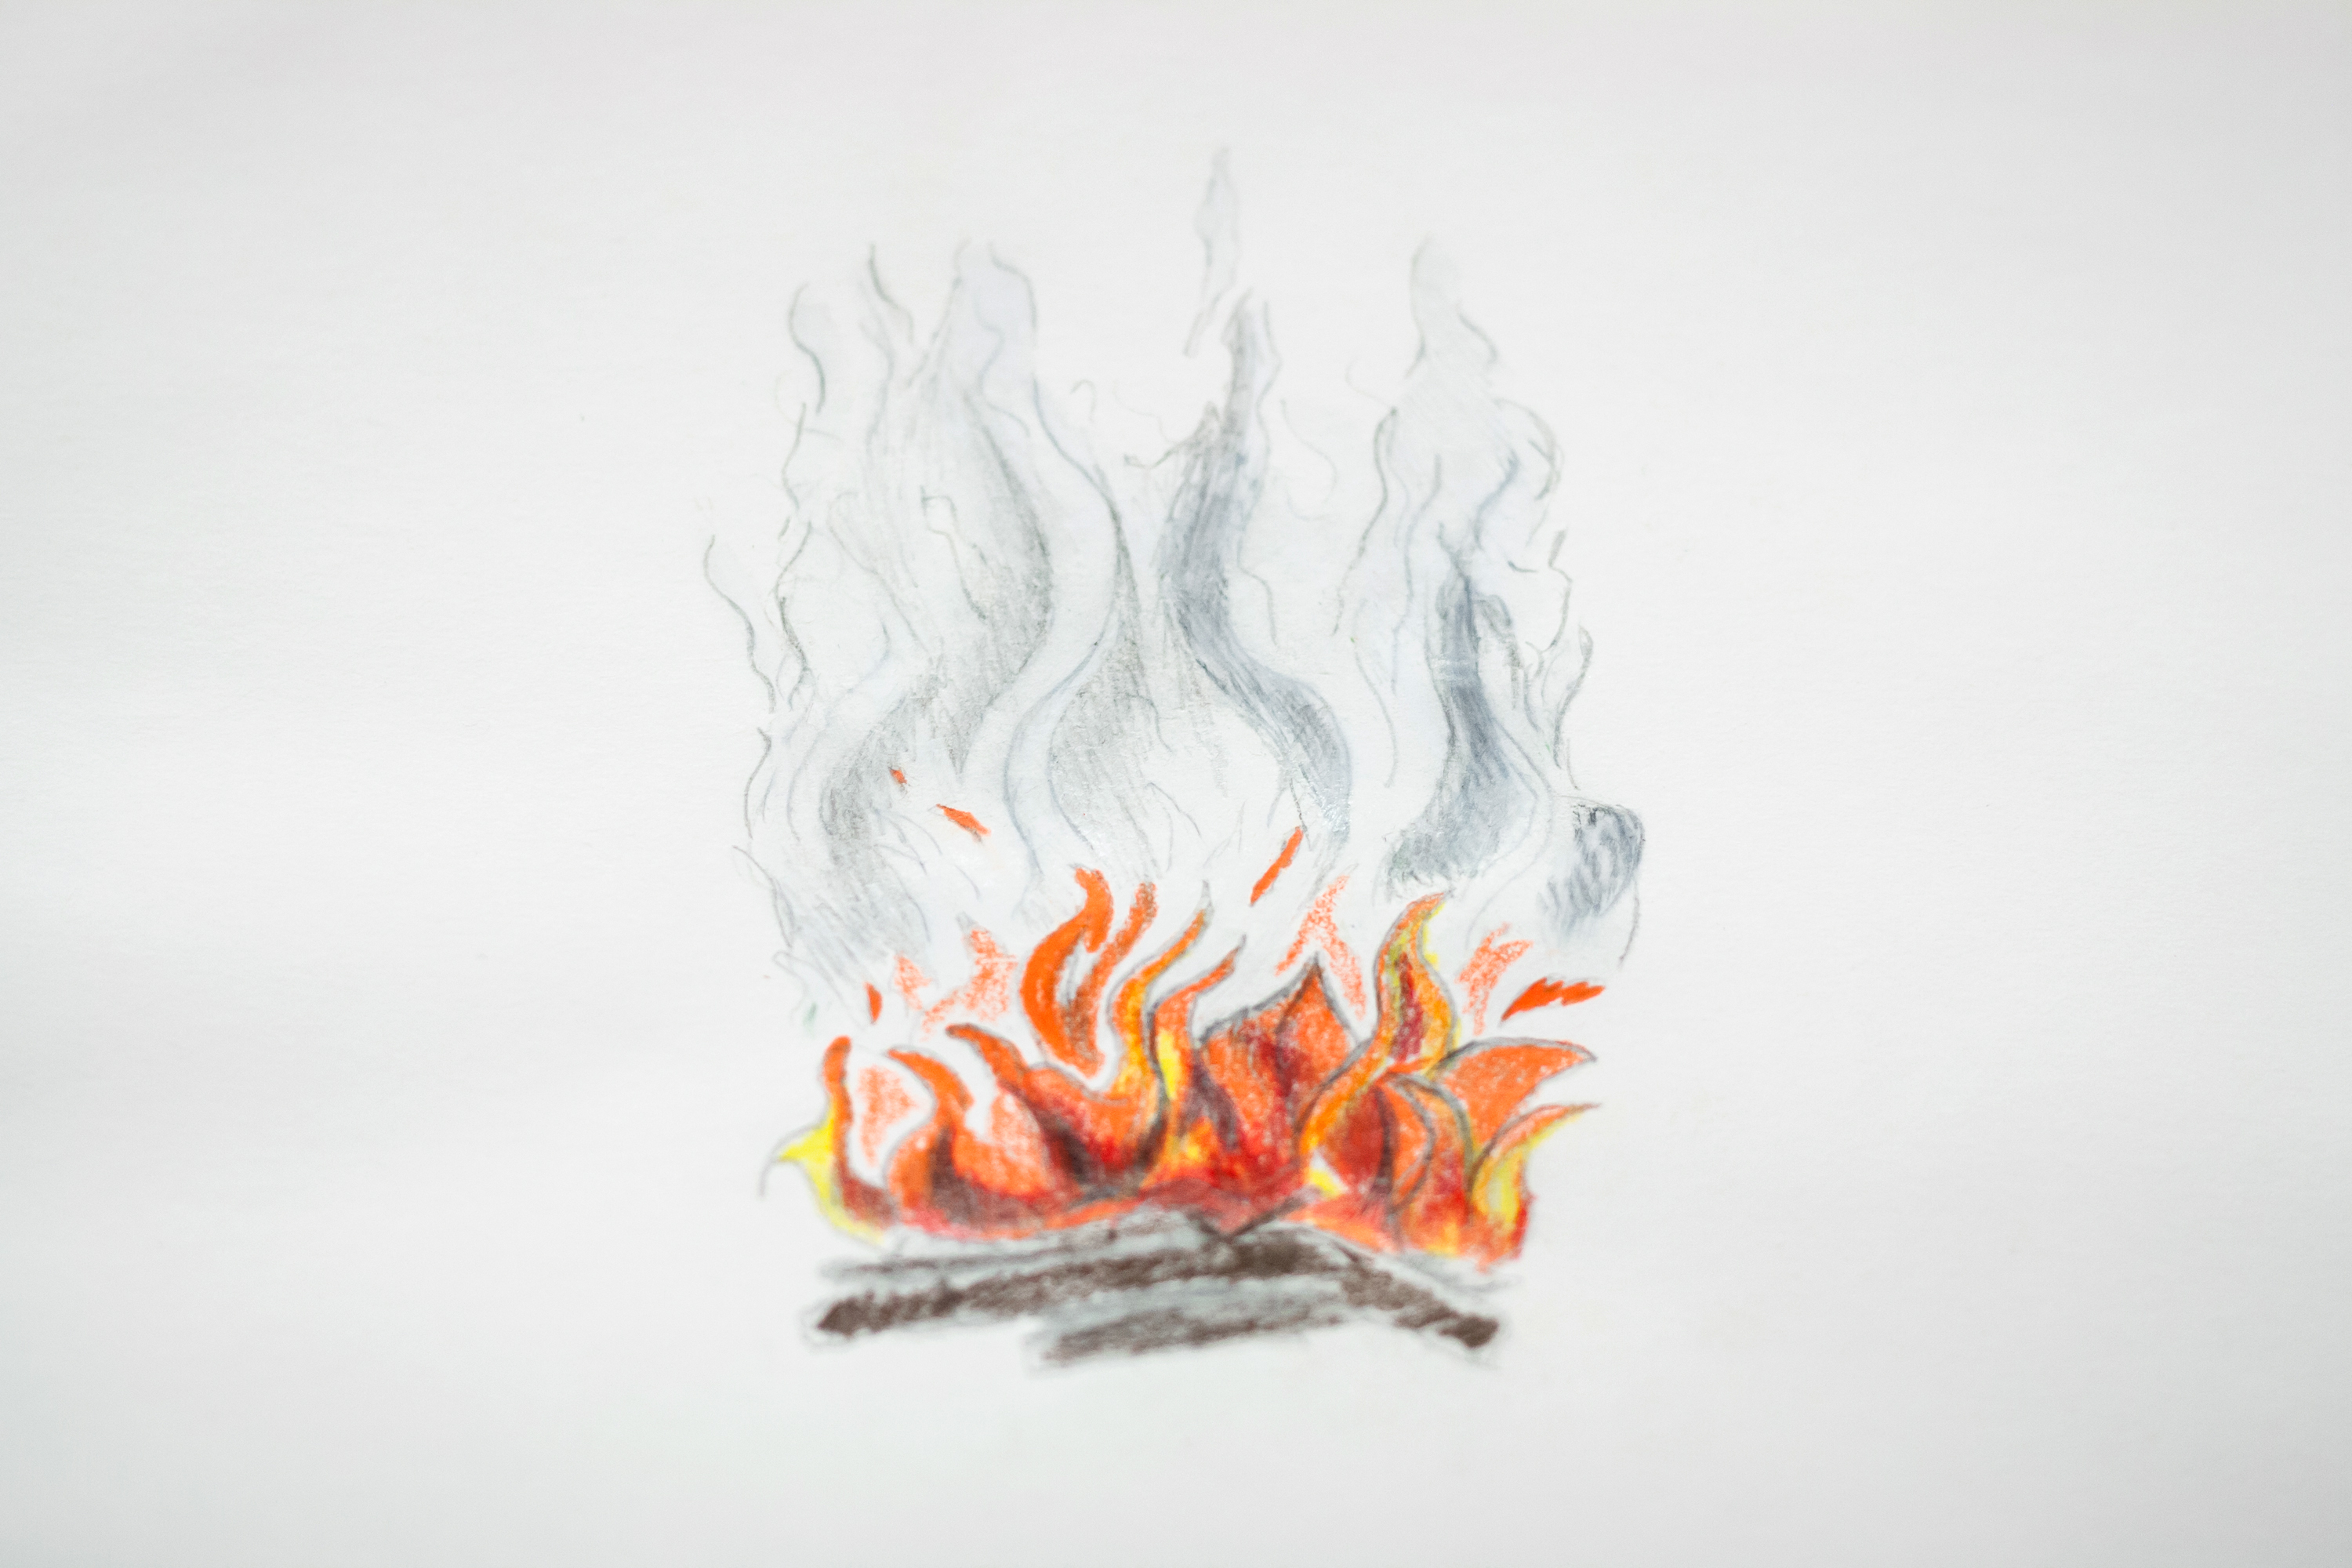

Drawing smoke emanating from a fire may seem like a simple task. However, much of the realism of a stove is in this. A couple of strokes allow us to achieve an ordinary result, so we must practice where to place shadows and textures, as indicated in this guide.
Draw the Elements: How to Draw Fire – Different origins of the fire


Not all objects emanate fire in the same way. In this tutorial, they teach us step by step with images how the flames adapt to a candle, a fire, and a flare.
How to Draw Realistic Fire, Realistic Flames – Decomposing Light
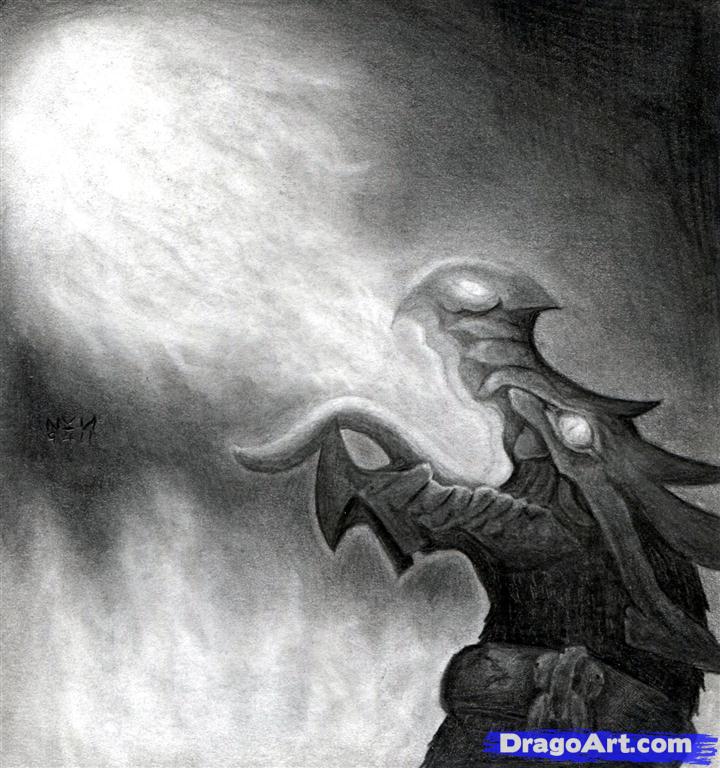

That the tutorial dragon doesn’t intimidate you. This reading will be perfect to learn some basic concepts of light emitted by fire, and how to represent flames realistically.
How to Draw Flames and Fire – The Anatomy of Fire

We must start with the basics to reach the most complex. The following guide is somewhat extensive, but it teaches us from the simplest strokes to the most complex drawings, as well as including a small exercise to draw a candle with colored pencils.
How to Draw Fire in Pencil – Using Graphite Randomly


Some graphite powder will be enough to draw flames of excellent quality. We start with a stroke that we will then polish until we have a texture similar to fire.
How to Draw Smoke – A nice way to learn

This video shows us in five simple steps how to create smoke with the use of a couple of basic digital tools. Its cartoonish finish reminds us of comic cartoons famous for their friendly appearance.
How to Draw a Bonfire – Gathered around the flames


A scene with a bonfire will always be cozy. In this case, we find a group of people under the moonlight who enjoy a great fire to spend the night.
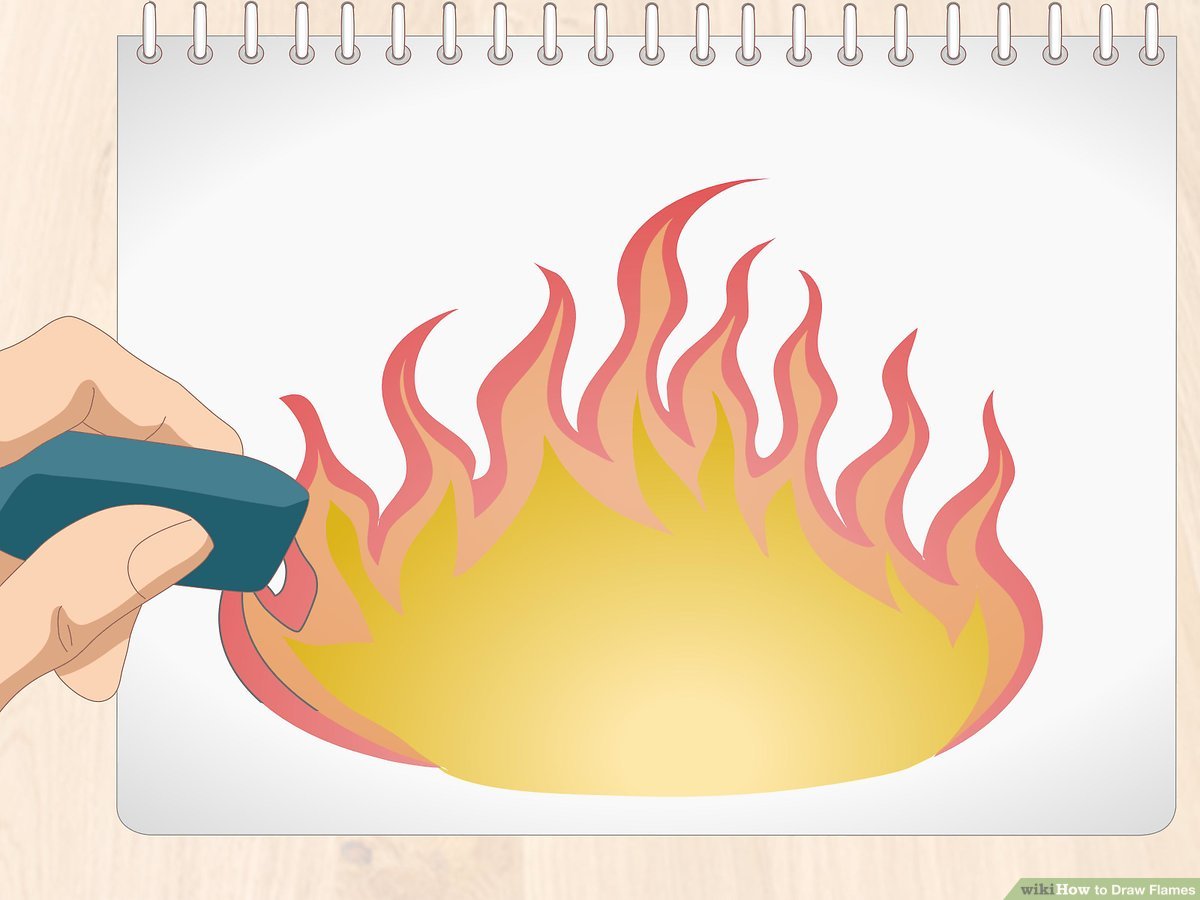
How to Draw Fire for Kids – A pair of curves and solid colors


A simple fire will be enough to fulfill the children’s tasks. We do not have to place many details, with a warm look is more than enough. For this, we will only need three colors and a couple of lines.
How to Draw Cartoon Fire – A lot of movement

Fire by nature is dynamic and lively. This only increases when we have to draw it for cartoons. Its random form is essential and should be highlighted, and in this tutorial, they show you how to use curved lines to create that movement without losing the idea that it is fire.
How To Draw Tribal Flames – Fire sketching in its maximum splendor
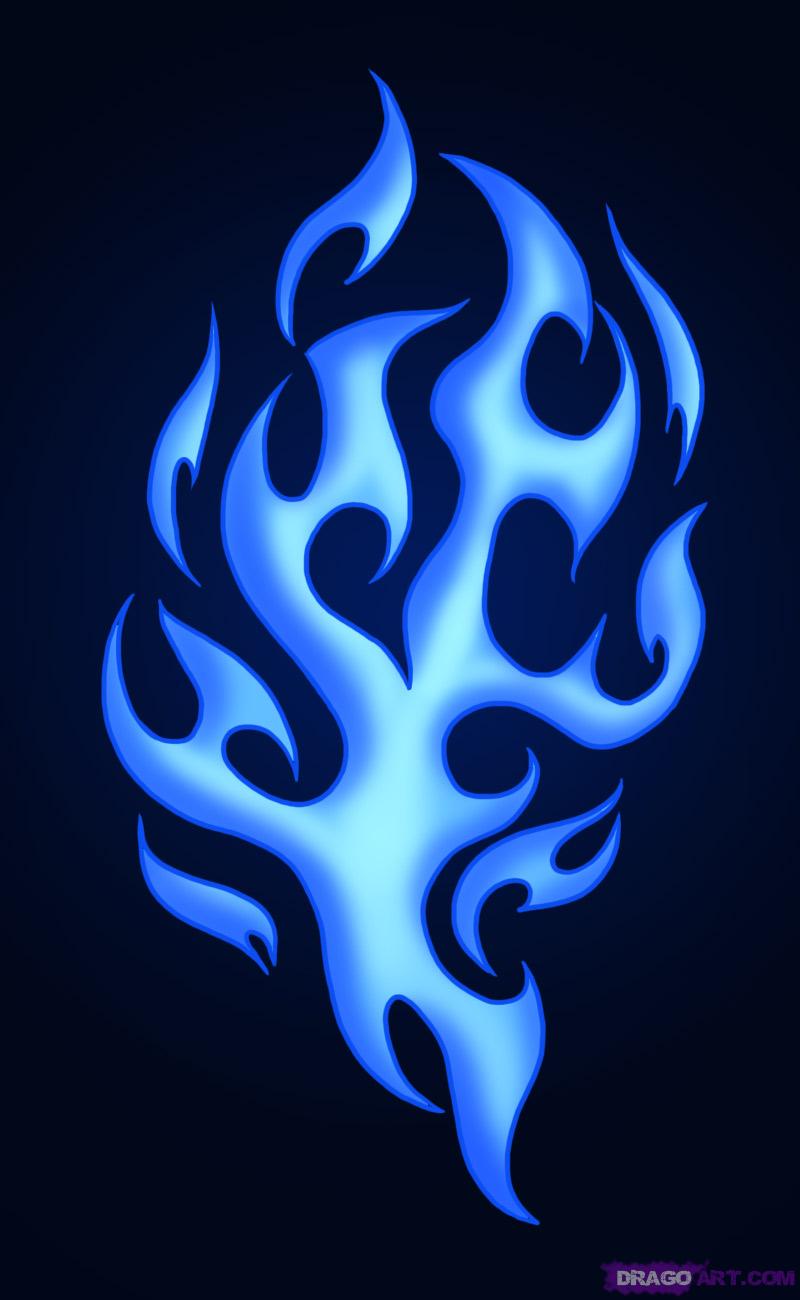

When we refer to tribal flames, we are not talking about designs used by ancient civilizations. These are drawings of simple patterns with very defined lines that tend to be used for tattoos and vehicle vinyls.
If you want to learn this fashionable style, then this guide will be useful to grab the trick.
How to Draw a Fire – A single color for a sober appearance

If we went through the previous guides, following this will not represent any problem. They present us with a simple unicolor fire on some logs. Here, simplicity is the necessary touch to make our work stand out.
How to draw flames – From 6 squares


We finalize our page recommendations to learn how to draw fire with this tutorial that takes us through different variants of a flame sketched on a grid mesh. We will start with a simple sketch, and little by little we will add several layers of color that will give it that burning touch. If we combine what we have learned, we will be able to draw fires that are more complex in a short time.
Some tips to improve the drawing of fire
As we mentioned at the beginning, fire is a difficult element to draw. Its random nature means that many times, we do not understand how it behaves in reality; in addition to that, to achieve a realistic result, we must be able to capture dynamism in the drawing.
This complexity is exactly what makes it so attractive to artists. It is a tool that gives us a lot of creative freedom if we know how to use it. Special lighting with flames of different colors, landscapes consumed by fire, etc. The hottest scenes radiate many emotions.
However, we can apply some techniques and concepts to have a better understanding of how to draw it both digitally and on paper.
Conceptualize the fire
Don’t try to draw every feature you see in a flare. Look for defined shapes that stand out from the rest and draw them, always addressing a simple design.
Imagine it as another static object of the environment to be able to conceptualize it. The strokes you will always apply will be from the base of the fire to the top, so that the curve we make is stronger at the beginning as it fades.
Curves create character
The fire is never straight. Even the flame of a torch has a certain curvature. You must practice the ease of hand when drawing curves. The secret is to keep the pulse steady in a quick stroke without much thought. You can also add some curves to the outside of the fire to give it more volume.
The details are important
The contrast of colors and the addition of extra elements are essential to give realism and importance to your fire. Everything that burns leaves a trail of smoke, and it is important to be able to represent it to feel the heat.
Remember that smoke comes in different colors depending on the material that burns, ranging from black (when plastic and artificial products are burned) to white (when vegetation is burned).
The background color also plays an important role. With a dark environment, our fire can stand out more easily. We can make them more dramatic and wild.
Using black paper can save us a lot of work. In this way, almost any color we use will look bright. You can also add the so-called halo to create a blinding glow around it.
In realistic strokes of fire, we must never use a strong stroke, since fire does not have lines so defined that they can be visible. We have to try to create an ethereal element.
Our final advice is simply to practice a lot and look at many references. Remember that drawing fire is not easy, even if we look for the cartoonish appearance.
FAQ On Tutorials On How To Draw Fire
What Materials Do I Need to Start Drawing Fire?
You’re in luck, it’s simple. Grab a pencil for the initial sketch, some colored pencils, or even watercolors for dynamic lighting. Oh, and don’t forget a good eraser—fire is forgiving when drawing, but not always on paper.
Can You Explain Basic Flame Shapes and Structures?
Sure thing. Think of a teardrop flipped upside down; that’s your go-to shape. Remember, flames aren’t static—they’re playful, merging visual effects and they sway. Study them closely. Nature’s the best tutor, right?
How Do I Add Realism to My Fire Drawings?
Artistic techniques to the rescue! Visual texture and color are key. Layer those oranges, reds, and yellows for fiery textures, then work in some blues and purples for depth. Done right, your fire will practically crackle on the page.
What Is the Best Way to Depict Fire Light Source?
Picture this: fire is your light source. Shadows fall opposite to those vibrant glows. Show where the light hits, and voilà, your drawing transforms. It’s about mastering those contrasts sweet spot.
Are There Different Methods for Drawing Fire in Digital Art Software?
Absolutely. Dive into digital art software like Procreate or Photoshop. Brushes are your new best friends, and layers are the big play. Blend modes? They’ll be your trusty sidekick for that glowing ember effect.
How Can I Make My Fire Look More Animated?
Movement is your mantra. Quick, sweeping strokes capture fire’s dance. Add smoke and fume sketches curling up, and scatter a few sparks and embers around—see it leap off the canvas yet?
Is There a Specific Color Palette I Should Use?
Warm it up! Start with a cozy base of yellows and oranges. Layer it up with bold reds, then surprise the viewer with a pinch of cool blues near the base, because, hey, color theory wasn’t lying—contrasts make the fire pop.
How Important Is Shadowing When Drawing Fire?
Shadowing is the unsung hero in your fire illustration tips. It’s all about balance. Use it to define the fire’s flicker and form. Controlled shadowing enhances the realistic fire effect we all strive for.
Can You Offer Tips for Drawing Reflective Surfaces Near Fire?
Shiny surfaces? Trickier, but fun! They mirror the fire’s vibrancy. Patience and keen observation—reflect what’s in front of the surface as distorted, broken light. Adds a whole new layer of visual effects to play with.
What Advanced Techniques Can I Learn to Improve?
Once you’ve nailed the basics, push into fire-themed artwork territory. Experiment with abstract fire designs and blending different fire sources for complexity. Always be curious, expand your repertoire, and never stop learning. That’s the creative process.
Conclusion
So, we’ve journeyed through the flickering heart of creating, haven’t we? Together we’ve explored the art of fire on canvas, embracing the step-by-step drawing guide and delving into the belly of the creative process where flames come to life.
- We started simple, you know, sketching sparks and embers, learning to make them dance with our pencils and brushes.
- Then we amped up, didn’t we? Tackling the dramatic play of dynamic lighting, shadowing—the works.
- Didn’t forget those digital art software tricks and fire-themed artwork insights.
It’s been something, watching those flames leap off your pages, growing wilder, brighter, more real—a testament to the art lessons on fire drawing covered. But hey, this is just the beginning, right?
Keep that fire burning, keep exploring ‘tutorials on how to draw fire‘, and never stop challenging that talent of yours. Go on, spark up another sheet. Stoke those skills. Let’s see where the next burst of inspiration takes you.
If you enjoyed reading this article about how to draw fire, you should read these as well: